You’ll find this screen by tapping the “Add a pet” row above the pet list on the Pets tab. If you have no pets at all yet, you’ll also see this same option from the Today tab.
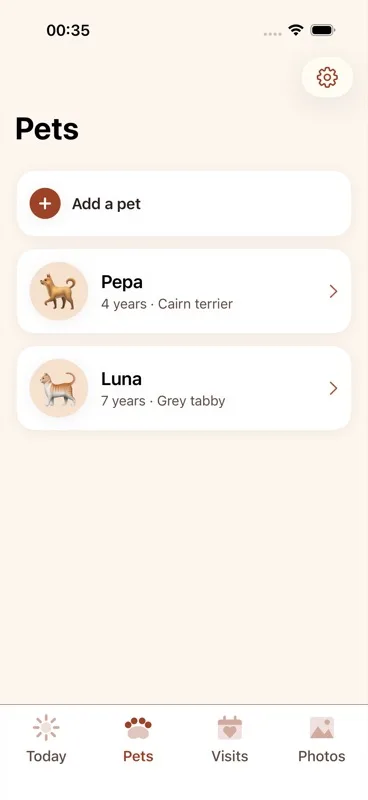
Step 1: Naming your new pet profile
- Tap the “Add a pet” row on the Pets tab.
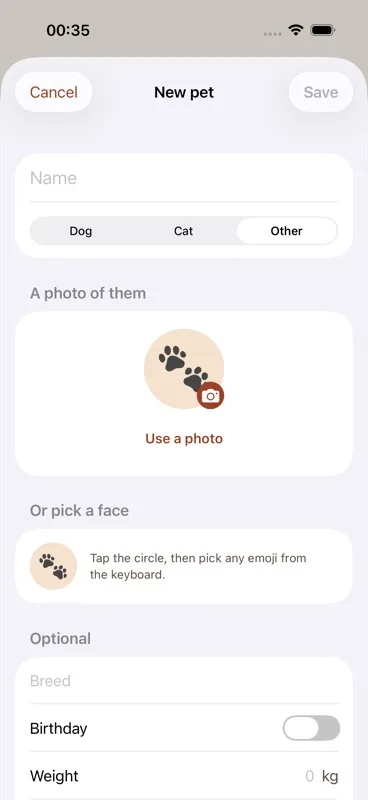
- Type your pet’s name into the Name field. This is required — the screen won’t let you save without it.
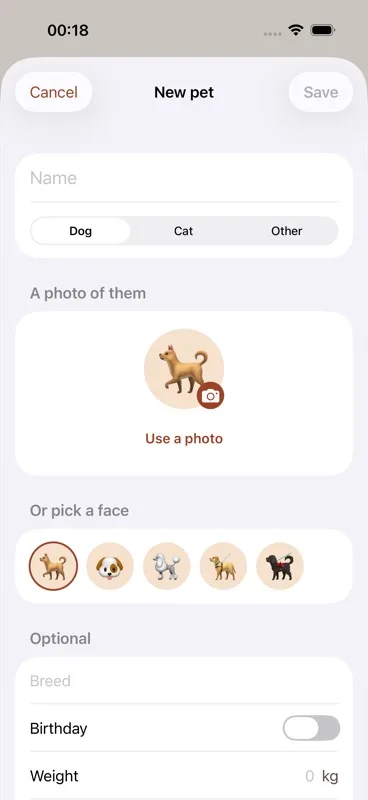
Step 2: Choosing what kind of pet you’re adding
- Below the name field, use the segmented control labeled “What kind of pet” to choose Dog, Cat, or Other.
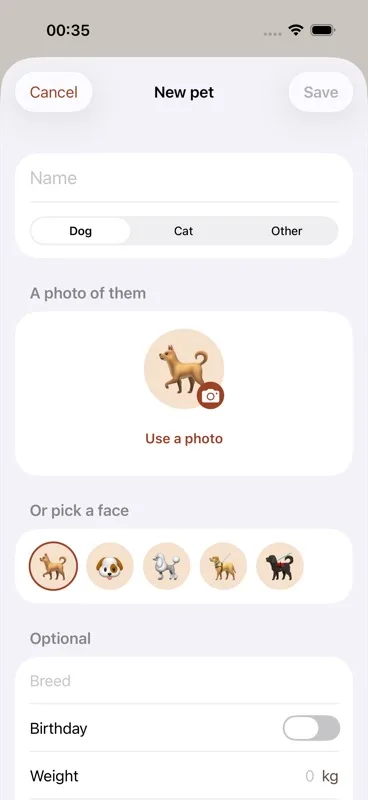
Step 3: Adding a photo of your pet
- In the “A photo of them” section, tap the circular avatar (it has a small camera-icon badge on it) to pick a photo from your phone’s library.
- Drag the photo to reposition it, and pinch to zoom, until it looks right inside the circular frame.
- Tap “Use photo” to confirm.
- Once a photo is set, the button below the avatar changes from “Add photo” to “Change photo,” and a “Remove photo” option appears underneath if you want to take it off again.
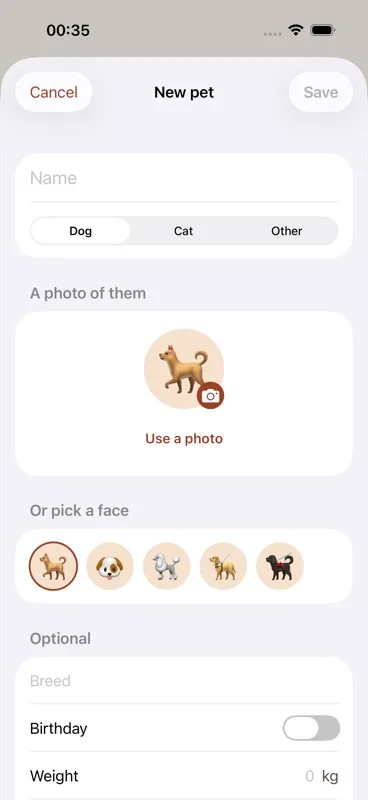
Step 4: Picking a face if you’d rather skip the photo
This is an alternative to Step 3, not an extra requirement — pick a photo or a face, whichever you prefer.
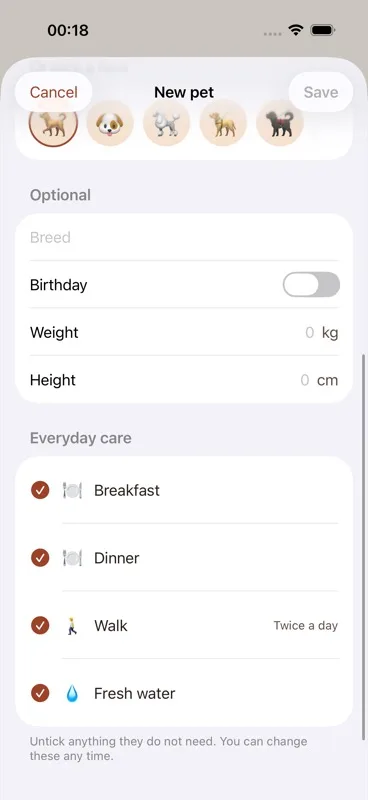
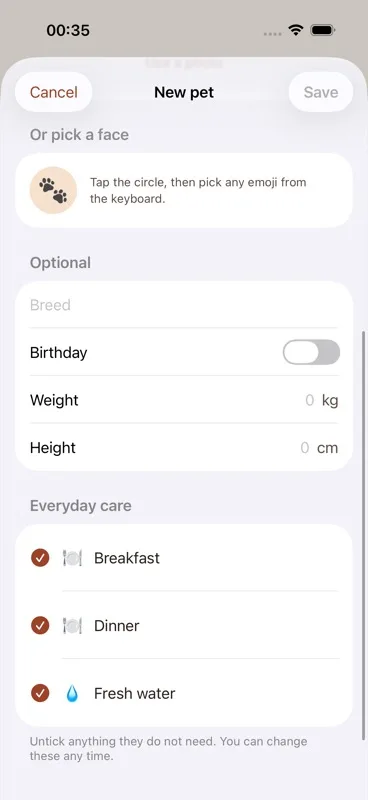
- In the “Or pick a face” section, if you chose Dog or Cat in Step 2, tap one of the 5 preset emoji face circles shown.
- If you chose Other, tap the single circle shown, then type or pick any emoji from your phone’s emoji keyboard. There’s no fixed set for Other, since it needs to cover anything from a rabbit to a parrot.
Step 5: Filling in optional details
Everything in this “Optional” section can be left blank and added later by editing the pet.
- Breed — a free text field, type anything you like (or leave it blank).
- Birthday — switch on the toggle to reveal a date picker; only past dates can be selected.
- Weight — a numeric field, with the unit label (kg or lb) automatically following your phone’s region setting.
- Height — a numeric field, with the unit label (cm or in) automatically following your phone’s region setting.
Step 6: Choosing the everyday care (new pets only)
This section only appears when you’re adding a brand-new pet — it doesn’t show when editing an existing one.
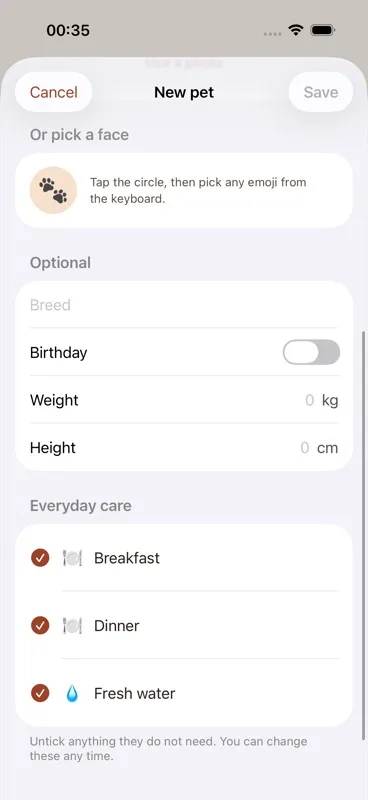
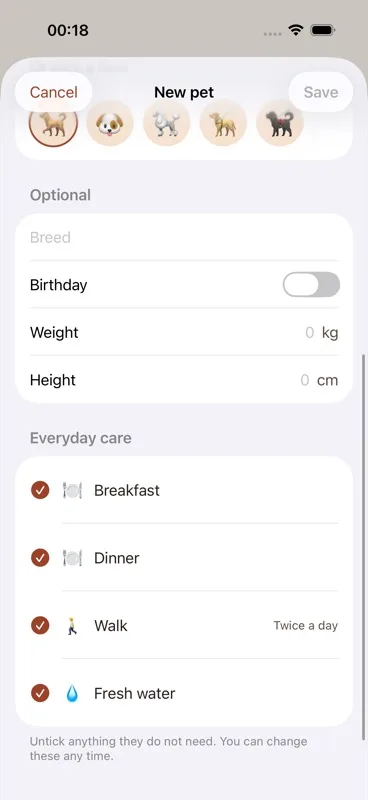
- Under “Everyday care” you’ll see the care the app suggests for the species you chose, one row each, with a tick beside every one. They all arrive ticked, so if the usual care is what you want, you don’t have to do anything at all.
- What’s suggested depends on the species:
- Dog: Breakfast, Dinner, Walk (twice a day), Fresh water
- Cat: Breakfast, Dinner, Litter, Fresh water
- Other: Breakfast, Dinner, Fresh water only — feeding and water are safe guesses for any animal, but a walk is a dog-specific need and litter is a cat-specific need, so those aren’t assumed for a species the app doesn’t know.
- Tap any row to untick it. Anything unticked is simply never created — nothing appears on your Today list that you didn’t agree to. Untick all of them and your pet is created with no care at all, which you can add later one at a time (see the care items guide).
- Changing the species reoffers that species’ own list, ticked again, so a “Walk” can’t be left stranded on a cat.
Step 7: Saving your new pet
- Look at the toolbar at the top of the screen: “Cancel” sits in the top left, “Save” sits in the top right.
- Tap “Cancel” at any point to back out without saving.
- Tap “Save” once you’re happy. It stays disabled until the Name field has something typed into it.
Editing or deleting a pet later
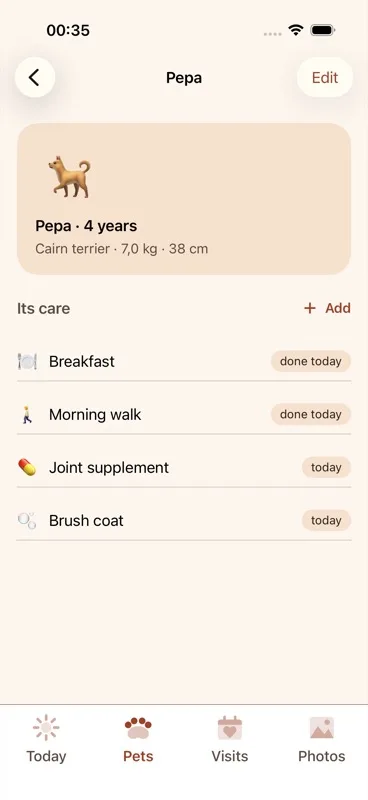
- From the Pets tab, tap a pet’s card to open its detail screen.
- Tap “Edit” in the top right. This reopens the same screen covered above, pre-filled with that pet’s current details — every field from Steps 1 through 5 can be changed here the same way.
- Scroll to the bottom of the Edit screen to find a red “Delete [Pet name]” button. This only appears when editing, never when adding a new pet.
- Tap it, and a confirmation prompt appears. It states exactly what will be removed along with the pet — for example: “This also removes 4 pieces of care, 12 history entries, 2 visits, 3 photos. It cannot be undone.”
- Tap “Delete” to permanently remove the pet and everything listed, or tap “Keep [Pet name]” to back out and keep the pet.
Deleting a pet is permanent. There’s no way to undo it once confirmed, so it’s worth reading the confirmation prompt carefully before tapping “Delete.”
![Edit screen scrolled to the bottom, showing a red "Delete [Pet name]" button.](/assets/img/guides/delete-pet-button.webp)
![Delete confirmation prompt stating exactly what will be removed — e.g. "This also removes 4 pieces of care, 12 history entries, 2 visits, 3 photos. It cannot be undone." — with "Delete" and "Keep [Pet name]" buttons.](/assets/img/guides/delete-pet-confirm.webp)
One more thing: pets are never limited by the free plan. You can add as many as you need — dog, cat, or any other animal — at no cost.
Next: how to add care items — build the custom care schedule your pet actually needs.